Careers

Bokashi Compost: How to Make It Yourself from Your Kitchen Scraps
Let your plants flourish and see the difference that nutrient-rich bokashi fertilizer makes.
Bokashi Compost: How to Make It Yourself from Your Kitchen Scraps
Let your plants flourish and see the difference that nutrient-rich bokashi fertilizer makes.
Bokashi: The Secret Weapon for Healthy Soil & Bountiful Harvests
This method, which originated in Japan, quickly transforms kitchen scraps into high-quality organic bokashi fertilizer using Effective Microorganisms. Thanks to its valuable vitamins and antioxidants, this fertilizer promotes soil fertility and plant growth in the garden and on the balcony. And the best part: through fermentation, the organic waste is converted into fertilizer much faster with bokashi than in traditional composting. We’ll show you how to easily make bokashi using our special bokashi bucket and how to solve problems like odor. You’ll also learn how to apply bokashi and which plants you should (and shouldn’t) use it on.
This method, which originated in Japan, quickly transforms kitchen scraps into high-quality organic bokashi fertilizer using Effective Microorganisms. Thanks to its valuable vitamins and antioxidants, this fertilizer promotes soil fertility and plant growth in the garden and on the balcony. And the best part: through fermentation, the organic waste is converted into fertilizer much faster with bokashi than in traditional composting. We’ll show you how to easily make bokashi using our special bokashi bucket and how to solve problems like odor. You’ll also learn how to apply bokashi and which plants you should (and shouldn’t) use it on.
Everything you need to make Bokashi fertiliser
Your benefits with Bokashi compost

Effective utilisation of biowaste
Kitchen waste is transformed into valuable fertiliser. This conserves resources and promotes sustainable gardening.

Reduced odours through fermentation
Fermentation in the Bokashi bucket means there are hardly any unpleasant odours. So your kitchen always stays fresh and clean.

Uncomplicated production and application
Bokashi compost is easy to make and use. Not a complicated process, but simple and quick for everyone.
Create your own Bokashi compost with ease

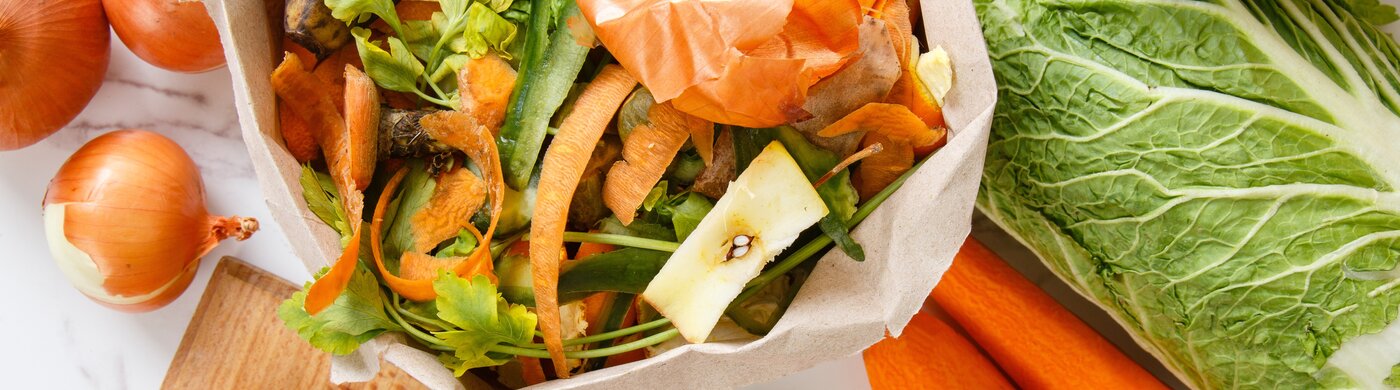
1. chop up kitchen waste
Cut your kitchen waste such as vegetable and fruit scraps into small pieces. This makes fermentation easier and improves the availability of nutrients in the fertiliser.
2. start the fermentation process
Sprinkle the shredded waste evenly with dried Bokashi or RoPro litter. These special microorganisms not only promote fermentation, but also prevent putrefaction and unpleasant odours.
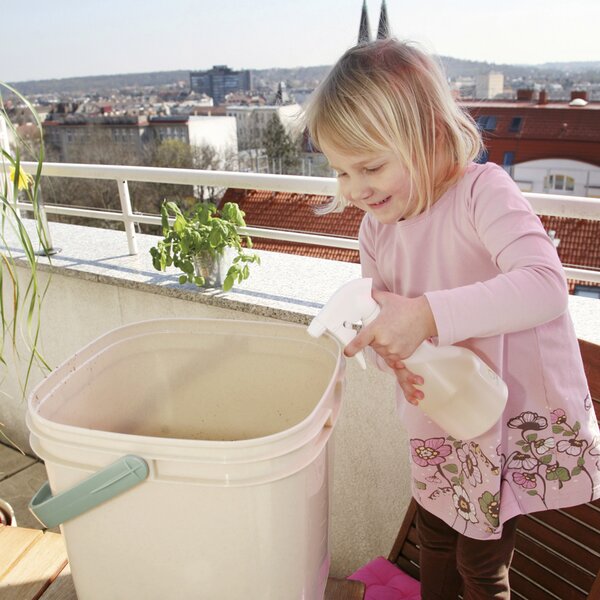
3. spray compost
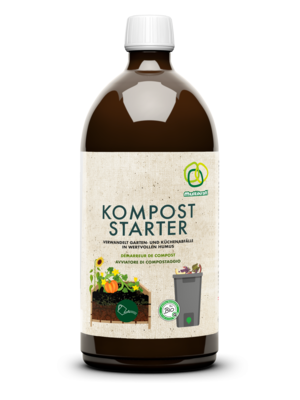
Spray the layers of waste in the bucket with compost starter to further support the fermentation process.
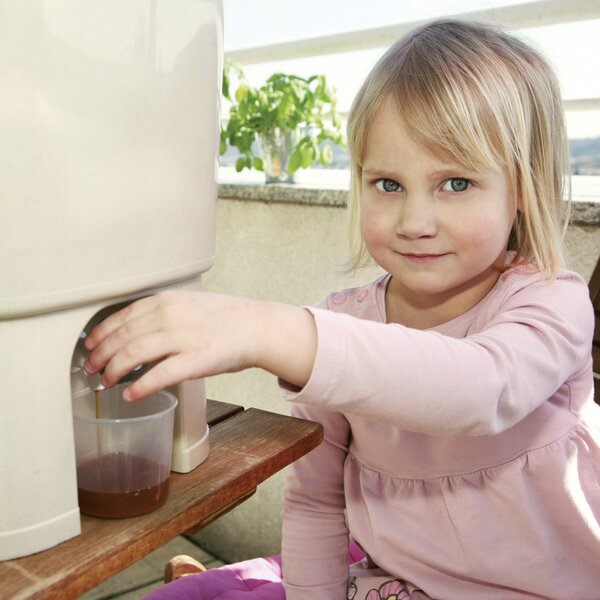
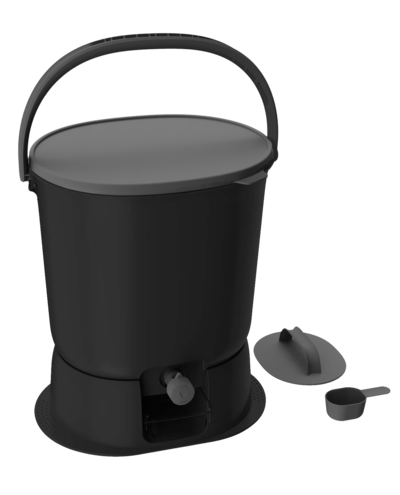
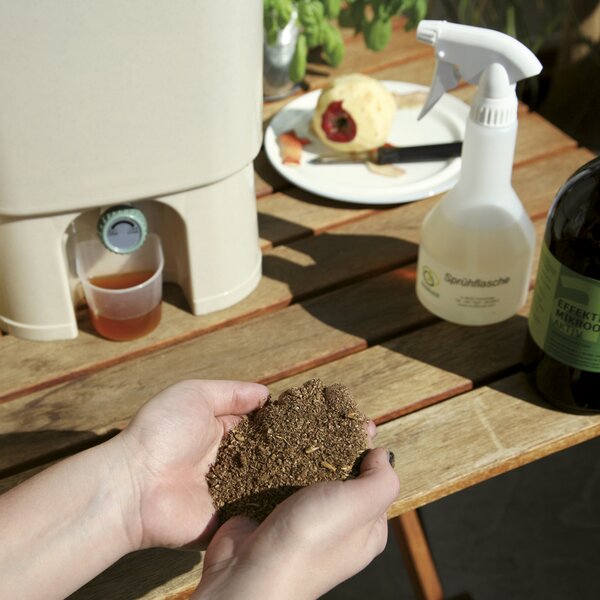
4. drain liquid fertiliser
After two to four weeks, you can drain off the bokashi liquid and use it diluted 1:200 for watering. Work the solid bokashi into the soil, where it will turn into nutrient-rich humus within a few weeks.
Why isn't it working for me?
Occasional problems can arise when making bokashi compost. The good news is that in most cases, these are due to minor mistakes in the process that are easy to fix.
Mold Growth: When is it good, and when is it bad?
When it comes to mold, it’s important to take a closer look. A white, stringy coating is usually harmless and a sign of successful fermentation. However, if green, black, or blue mold appears, this indicates faulty fermentation. The causes are usually too much oxygen in the bucket (e.g., due to a leaky lid or opening it too often), waste that hasn’t been packed down tightly enough, or materials that are too dry or coarse. An insufficient amount of added microorganisms can also be the cause.
The solution: Always press the waste down firmly to exclude air, and add sufficient bokashi starter after each layer. Also, keep the bucket consistently closed. If there is a significant amount of colored mold, it is advisable to restart the process.
Unpleasant Odor: sauerkraut, not rottenness
Properly fermented bokashi has a sour smell—similar to sauerkraut or apple cider vinegar. However, if strong rotten odors occur, this is a warning sign. This often happens due to unwanted aerobic decomposition (rot caused by oxygen), too much liquid in the bucket, or when protein-rich and fatty foods were added without sufficient microorganisms.
The solution: Drain the bokashi liquid regularly and make sure that moist kitchen scraps are well-drained before adding them. Each layer should be treated with a sufficient amount of starter. Also, ensure that the container is strictly airtight.
Problems with plants after application
If plants show signs of distress after applying bokashi, this is usually not due to the fertilizer itself, but rather to how it was applied. Possible causes include an insufficient fermentation period in the bucket, applying too much at once, or direct contact between the fresh bokashi and the plant roots.
The solution: Allow the bokashi to decompose sufficiently in the soil (let it mature for at least 2–3 weeks). Never apply the material directly to the roots; instead, work it into the soil from the sides and mix it well with the soil. Start with smaller amounts for sensitive plants and increase the amount gradually.
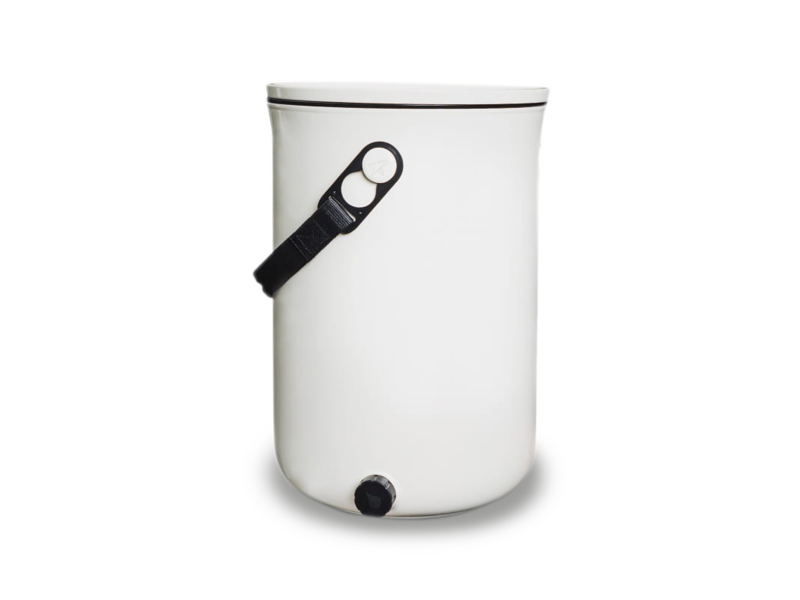
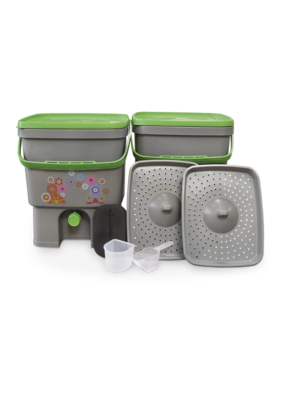
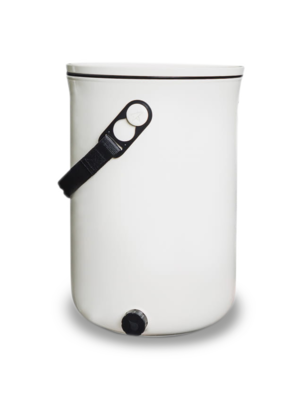
Optimise your biowaste recycling with Organko
Efficiently recycle your daily organic waste with the Organko Bokashi household bucket. With a capacity of 9.6 litres, it is ideal for collecting and fermenting kitchen waste. The airtight bucket accelerates fermentation and minimises odours.
Which plants can tolerate bokashi and which cannot?
Thanks to the microorganisms it contains, bokashi fertilizer is versatile for use in the garden:
- Vegetables: Tomatoes, cucumbers, squash, zucchini, cabbage, and potatoes—all heavy feeders—benefit particularly from bokashi in the garden bed.
- Fruit & Berries: Both fruit trees and shrubs such as raspberries, blackberries, or currants can be fertilized with bokashi in the spring or late fall.
- Roses & Ornamental Plants: Roses, in particular, appreciate the soil improvement provided by bokashi.
- Lawn: The lawn also benefits from bokashi. The ideal application time is in the spring or late fall.
Some more sensitive plants, such as herbs like basil or parsley, should be treated with caution and not come into direct contact with fresh Bokashi.
Caution is generally advised for balcony and container plants: Due to the limited soil volume, it is difficult to maintain sufficient distance from the roots. Therefore, work Bokashi into the soil only after it has been well pre-composted and use it sparingly.
Timing & Season: When to Fertilize?
Bokashi is a soil conditioner that only takes effect once it is in the soil. That is why timing is crucial. Fresh bokashi needs some time before it can release its nutrients and should therefore ideally be left to mature for 2–3 weeks before planting. If plants are already established, you can dig the bokashi fertilizer in around the base of the plants or mix it into the soil and let it mature there. In terms of the season, spring and late fall are best for application. In the spring, the soil is revitalized after winter and prepared for the season, while in the fall, the foundation for the following year is already being laid.
Questions and Answers
In this FAQ section, you’ll find specific information and answers about Bokashi fertilizer. If you can’t find what you’re looking for here, please check out our blog or fill out our contact form we’d be happy to help.
Fruit and vegetable scraps, as well as coffee grounds, tea bags, grass clippings, and wilted flowers, can be used as waste. You should avoid adding meat, fish, dairy products, and very greasy food scraps, as these can disrupt the fermentation process and cause unpleasant odors.
Anaerobic fermentation takes six to eight weeks, depending on the temperature.
- All nutrients are retained, and fermentation actually increases their levels. Antioxidants and vitamins are produced that do not exist in this form in conventional composting.
- It is incredibly easy to use and can be done even in small spaces.
- The decomposition of organic waste takes place almost odorlessly.
- Bokashi decomposes quickly and can be used soon after preparation.
- Plants are supplied with valuable nutrients for a long time.
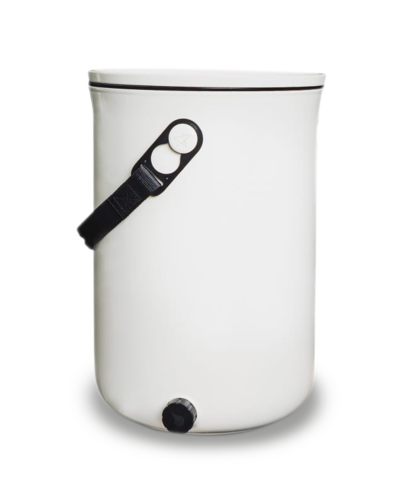
Making natural bokashi plant fertilizer is a breeze! You only need a few supplies:
- Kitchen scraps
- A bokashi bucket (e.g., from Multikraft)
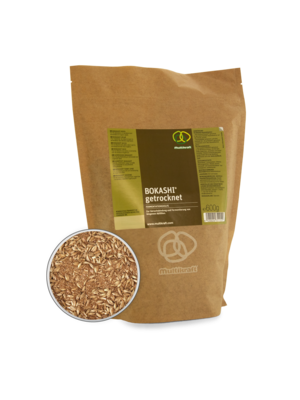
- Substrates containing Effective Microorganisms, such as compost starter or dried bokashi
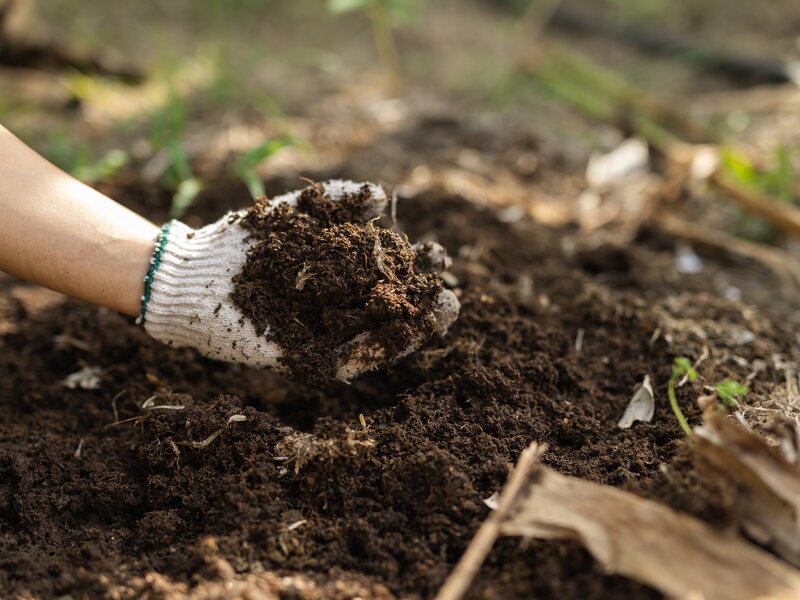
- Work it into the garden bed over a large area
- Use as a nutrient reservoir for heavy feeders in garden beds, plant pots, or window boxes
- Let the bokashi decompose in a clay pot (especially handy in winter)
- Use the leachate as a nutrient-rich fertilizer for all indoor and outdoor plants. Caution: dilute heavily!
How to Turn Your Compost Into a Nutrient Powerhouse for Your Garden
Step-by-step instructions:
- Layer the collected materials (3–5 cm) in a composter, either as is or diluted with compost starter (1 liter of compost starter per cubic meter), depending on their moisture content.
- Be sure to cover everything airtight, ideally with light-colored composting plastic. This ensures successful fermentation without oxygen.
- Since bokashi compost has an acidic pH, we recommend waiting 2 weeks after applying the fertilizer before planting or sowing. Alternatively, you can also bury the fresh bokashi about 30 cm away from the plants.
Do you still have questions?
Are you interested in one of Multikraft's products, but are still unsure and would like to find out more?
Our experts will be happy to help you!